Channel Manager
Purpose
Cloud-based configuration software TVIP Mira. Controls the entire video path complex, with the basic unit of configuration being the channel. A channel can be configured in the following sections:
Configuration input streams on Transcoder/Reader
- Configuration channels in Transcoder:
Configuration reserve sources and priorities for the channel.
Defining the transcoding profile for a channel.
- Configuration storage servers (Mira Storage):
Selection Channel Recording Servers/Server.
Archive storage depth
- Configuration broadcast servers:
Defining the storage servers with which the streamer works
TVIP CAS/Widevine stream protection
- Operational Monitoring:
Transcoder load (GPU/Ethernet)
Streamer load (number of sessions)
Installation
The software is not delivered for local use, access to the cloud version of the software is provided, and the application database is backed up.
The software serves only for configuration of the software parts TVIP Mira, tthe Mira software does not require regular access to the Channel Manager.
Note
The data for connecting to Channel Manager is provided by the manager.
Configuration is performed through Channel Manager web-interface. To access the web-interface, enter the address provided by the manager, user name and default password: admin/admin into the browser address bar.
Channel setting
Adding a channel without transcoding
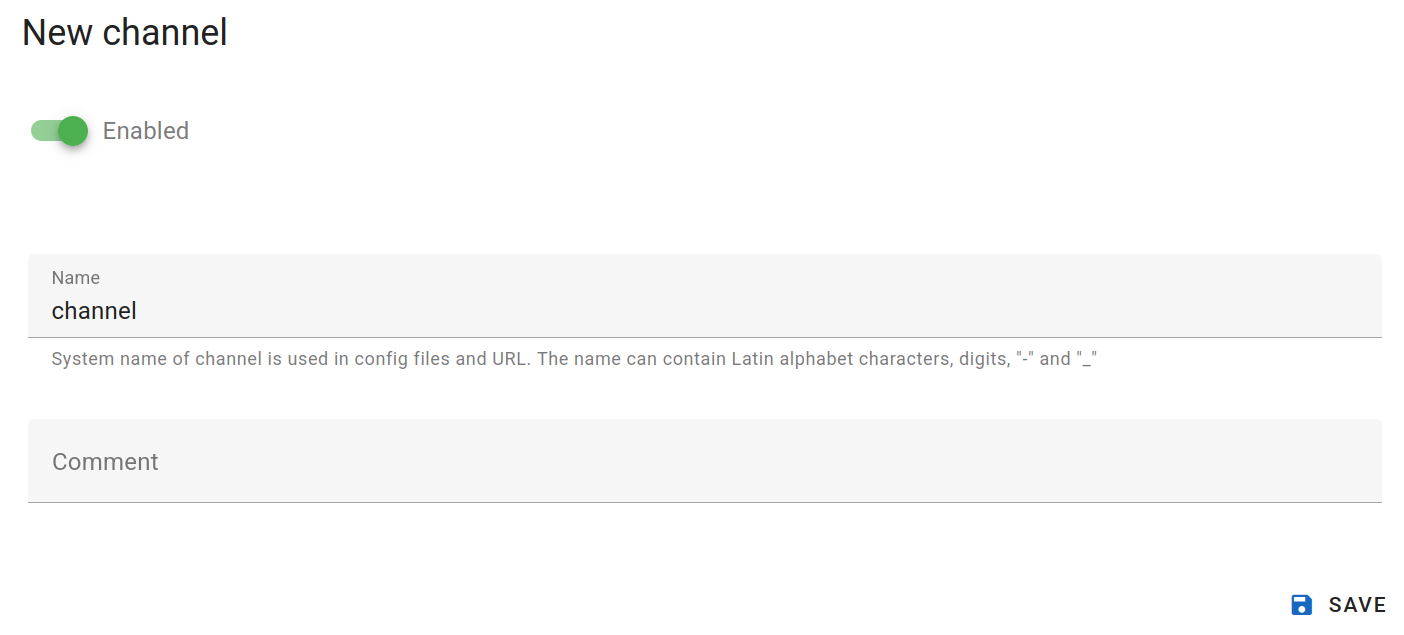
To add a channel in the web interface, go to the Channels tab, click the plus button on the right side menu.

In the window that appears, enter the channel name and a comment if necessary, then click Save.
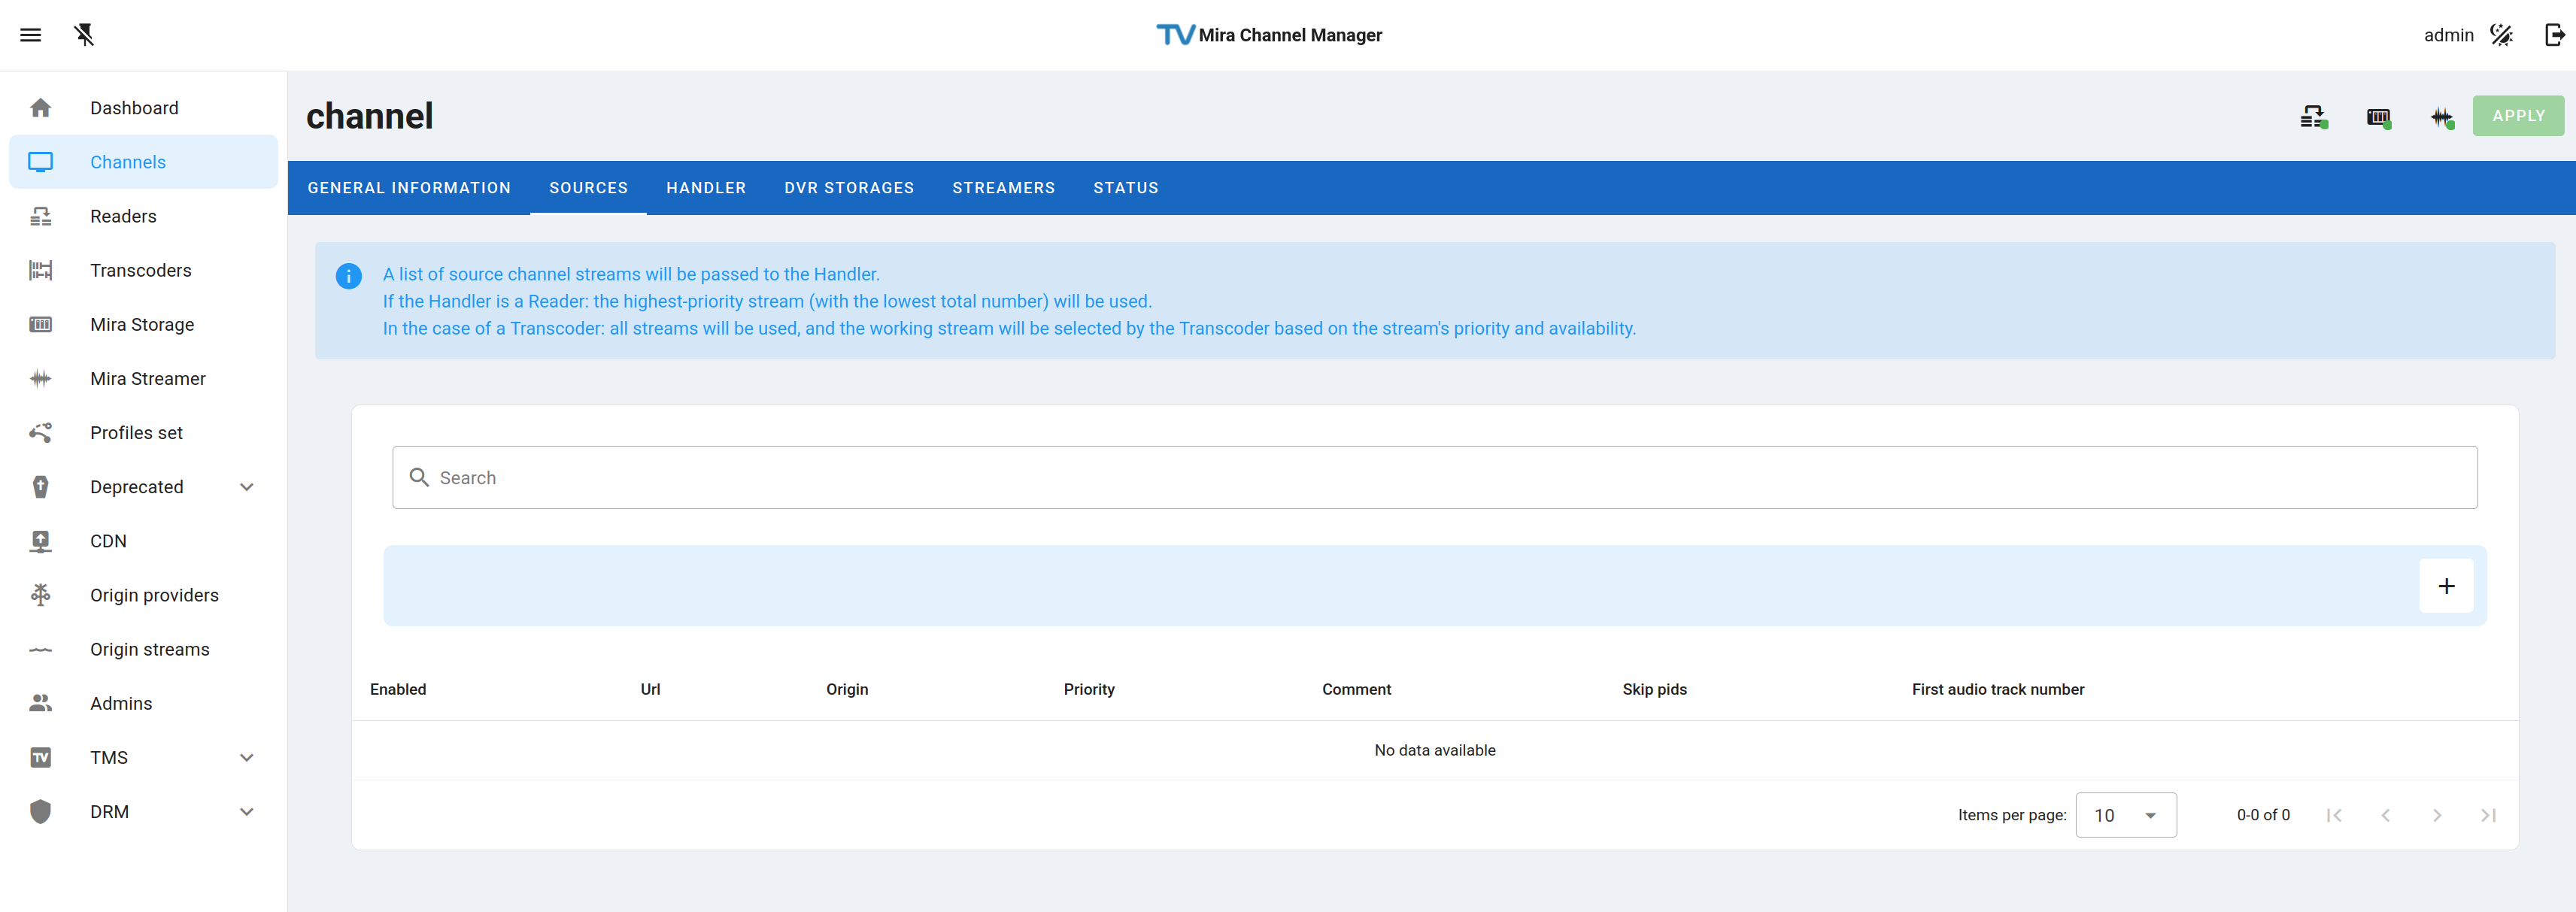
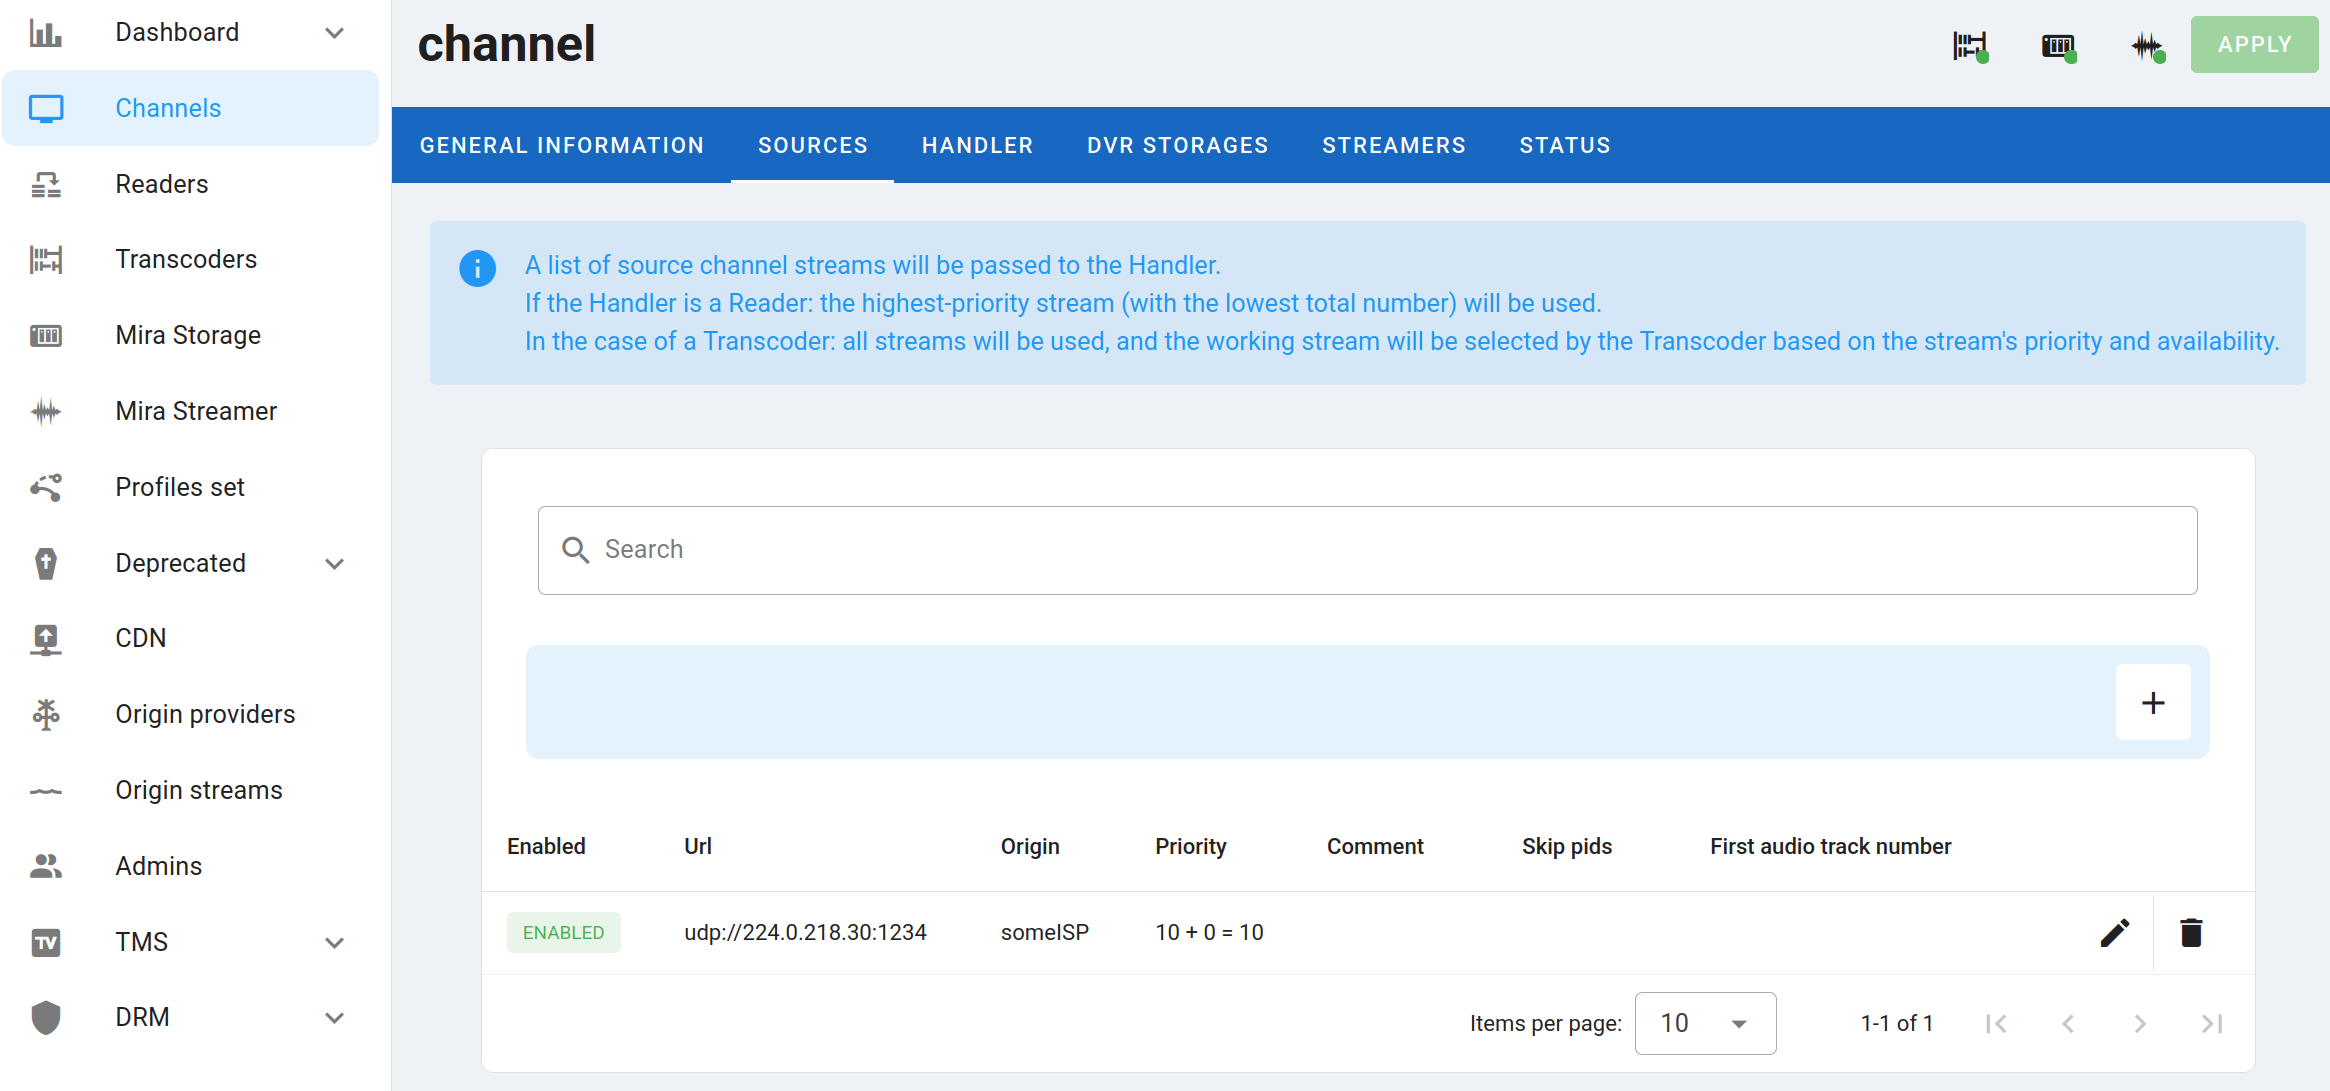
In the Sources window that appears, click the plus button to add a stream source.
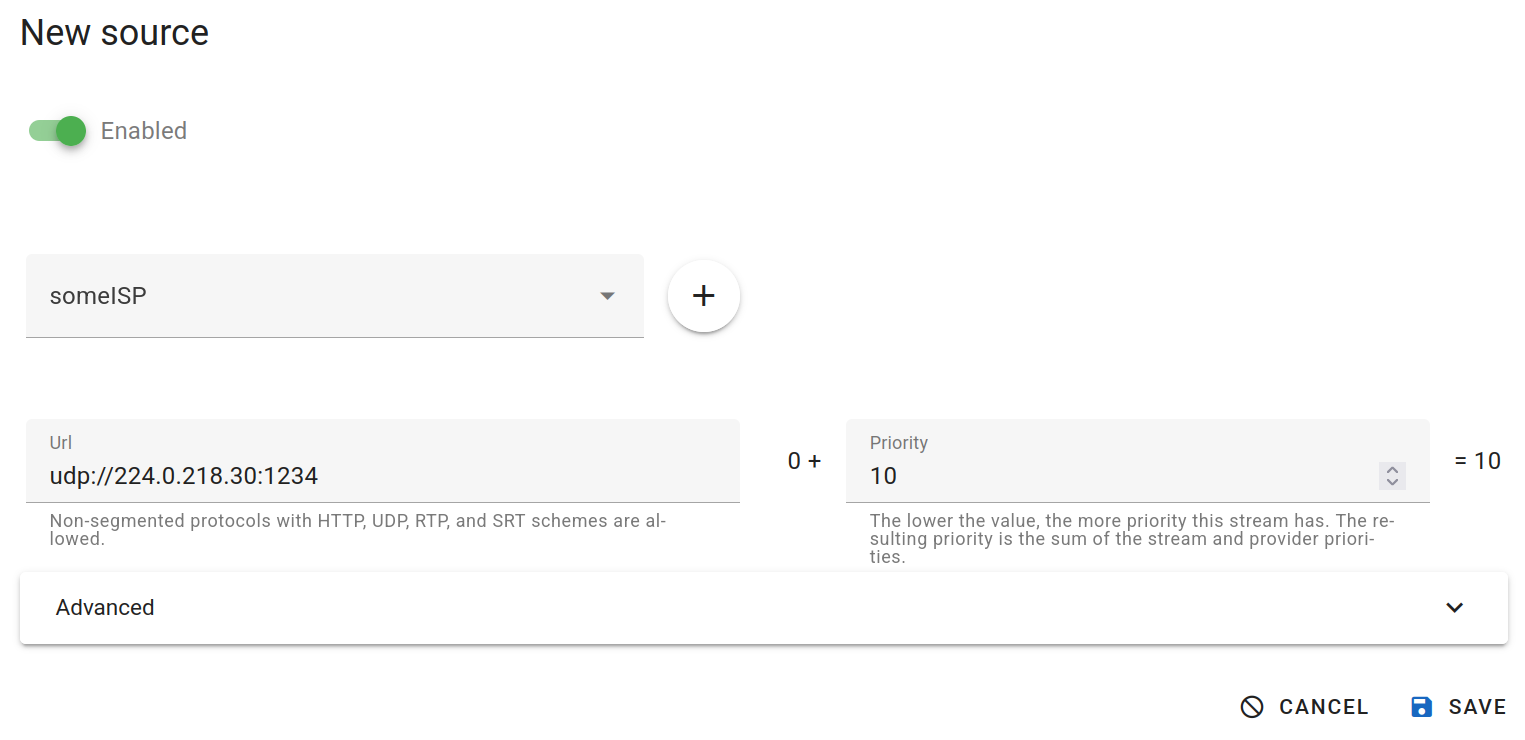
In this step, specify the stream source provider and set the stream source address.
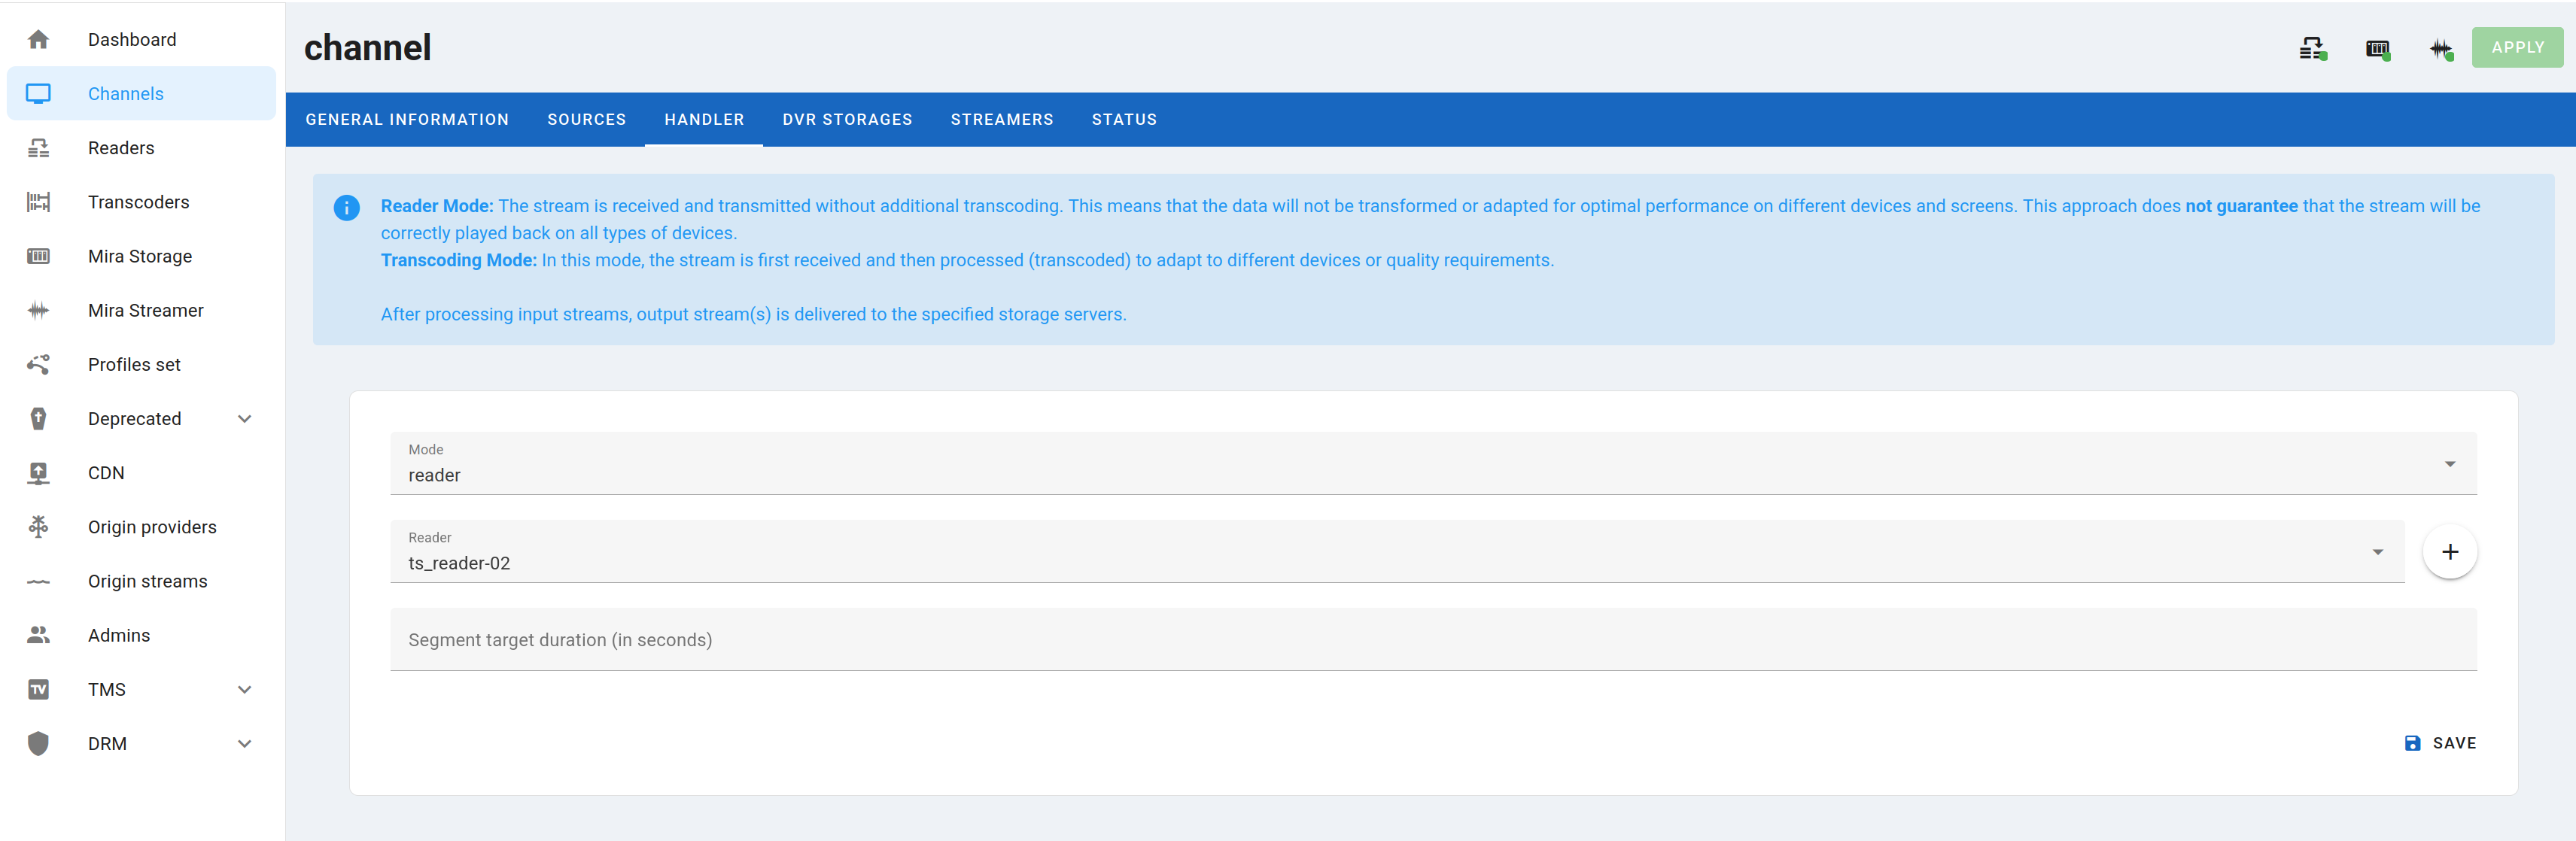
Go to the Handler menu tab and select the Mode: Reader in the Mode: field and the desired Reader in the Reader: field.
Next, go to the DVR STORAGES tab and click on the Plus button.
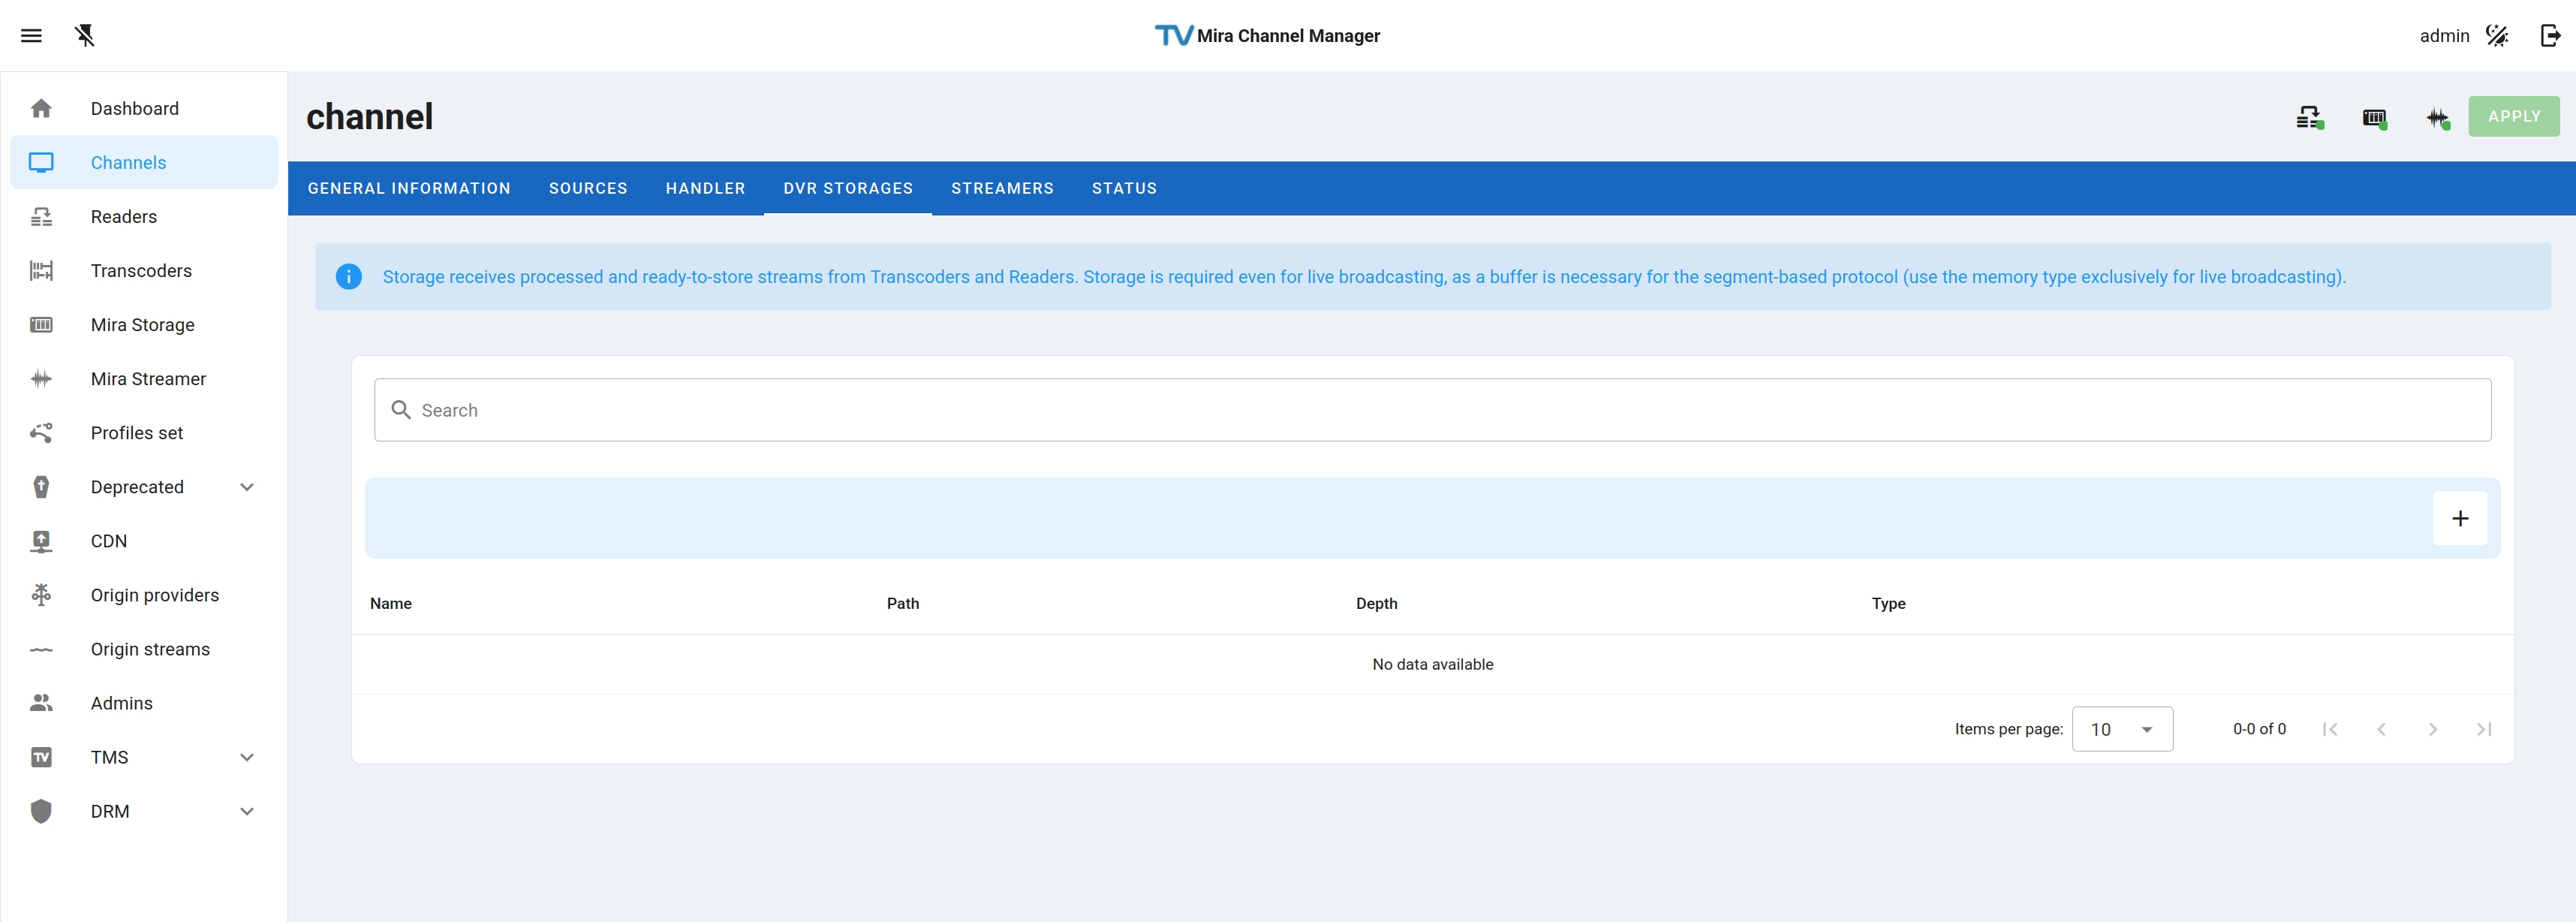
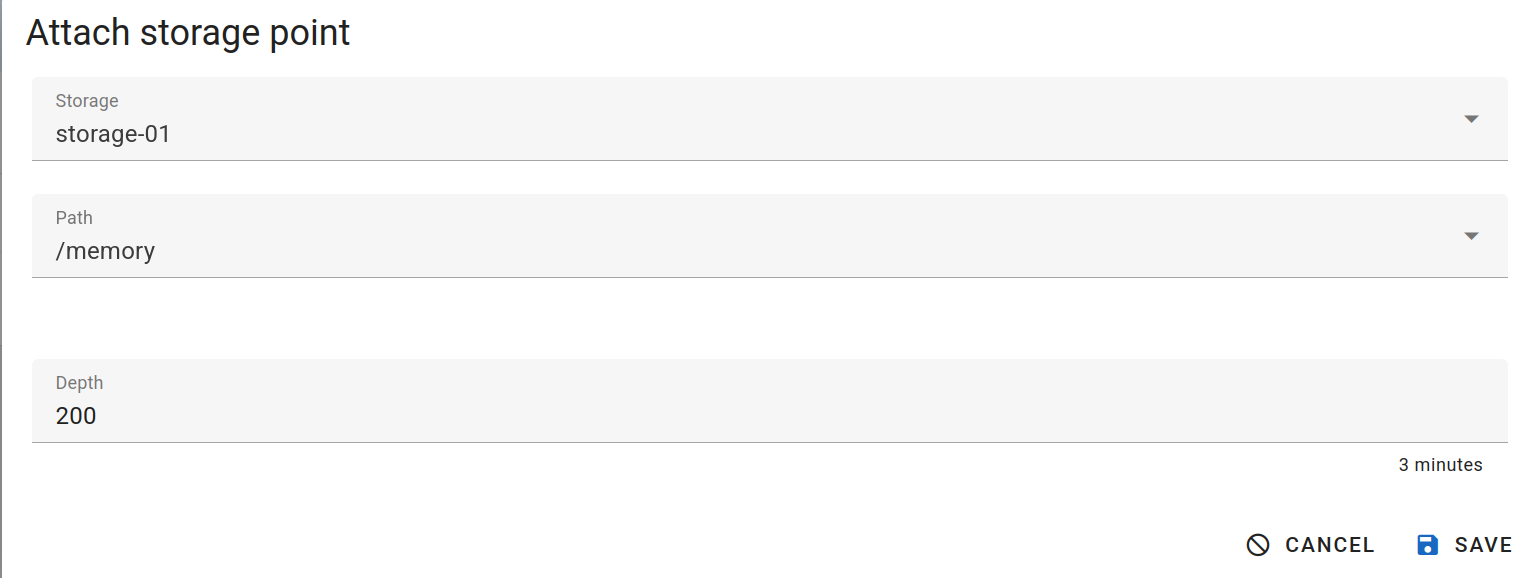
In the window that appears, in the Storage field, select the desired Storage. If you want to broadcast only the broadcast (without archive), select /memory in the Path field. If you want to store the channel archive, select the path and specify the archive depth. The path of recording on the server is configured in the Storage settings in the Mira Storage section. After that press the SAVE button.
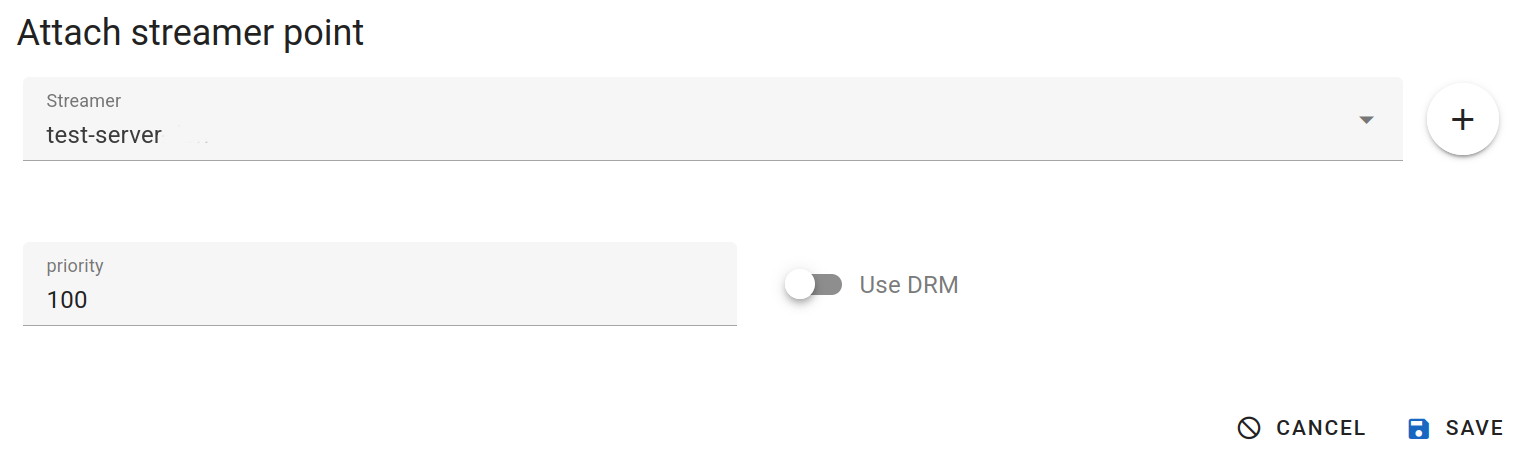
Then go to the STREAMERS tab and click on the Plus button.
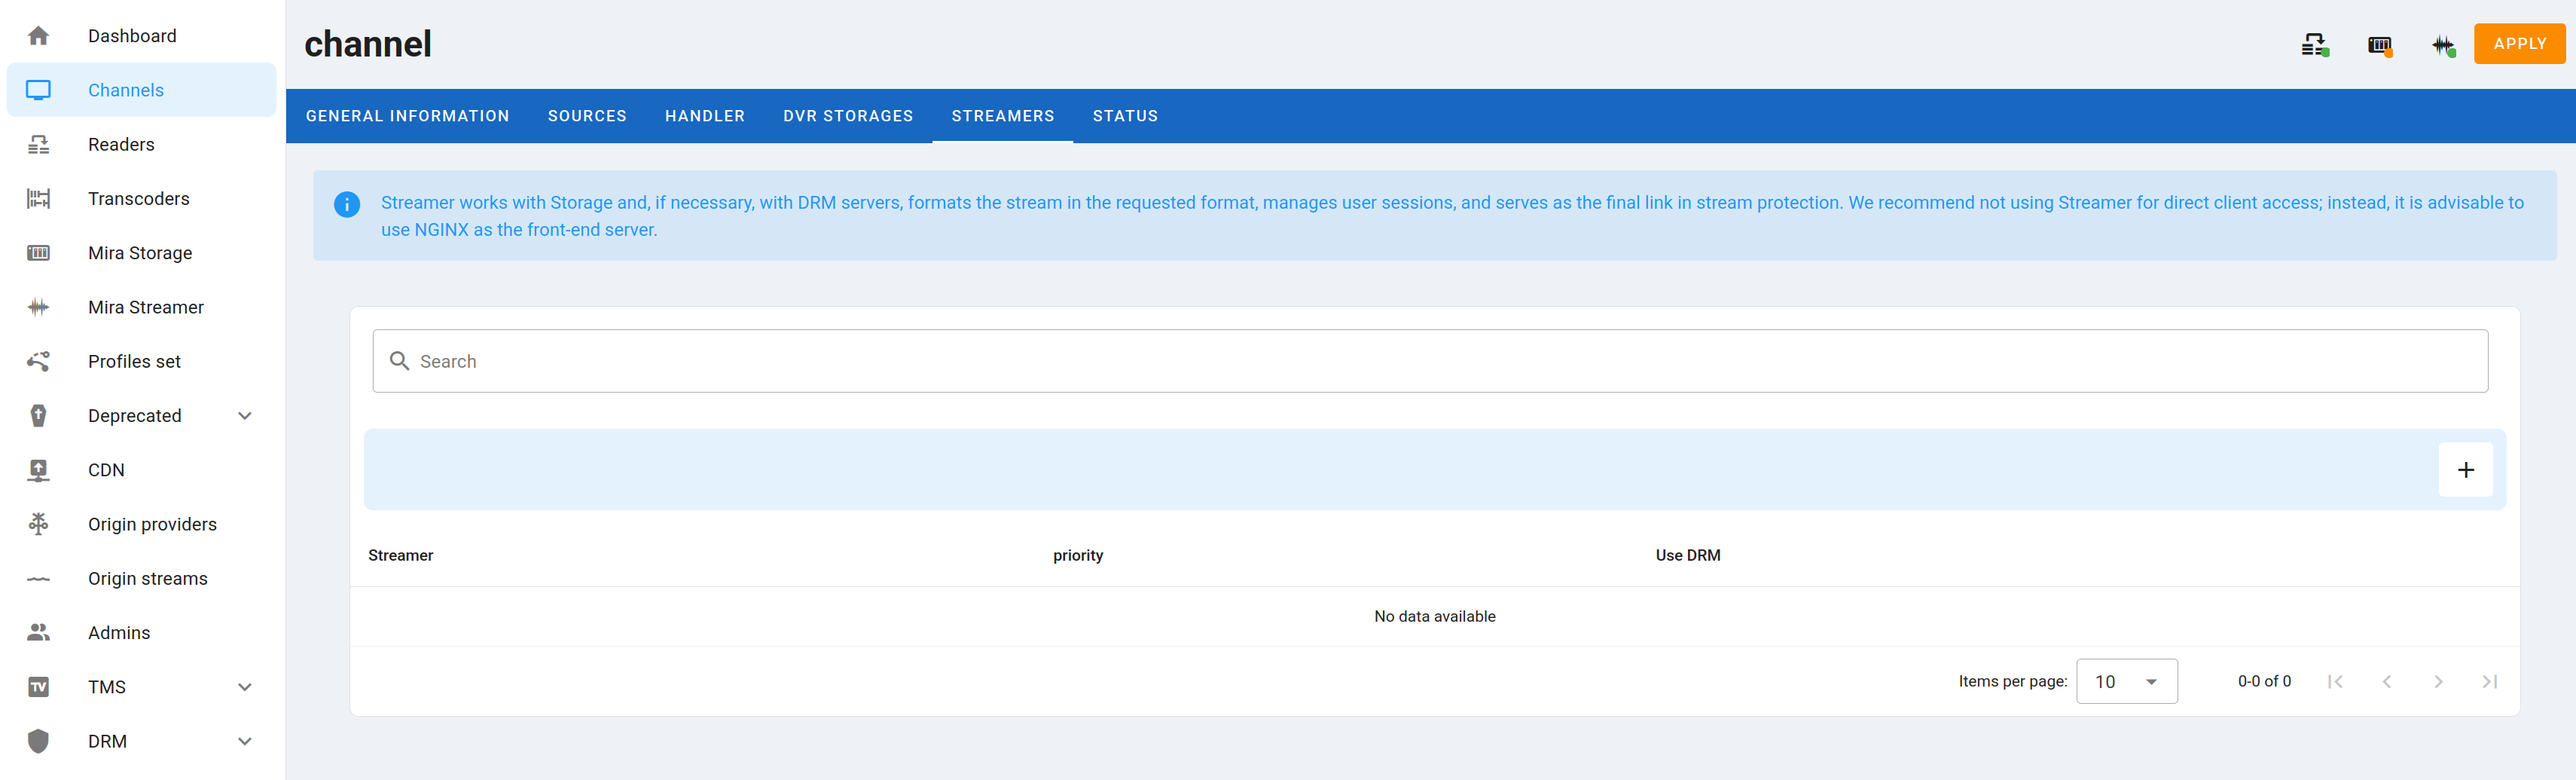
In the window that appears, select the desired Streamer in the Streamer field, and then click the SAVE button.
To apply the settings to the devices, click the APPLY button in the upper right corner.
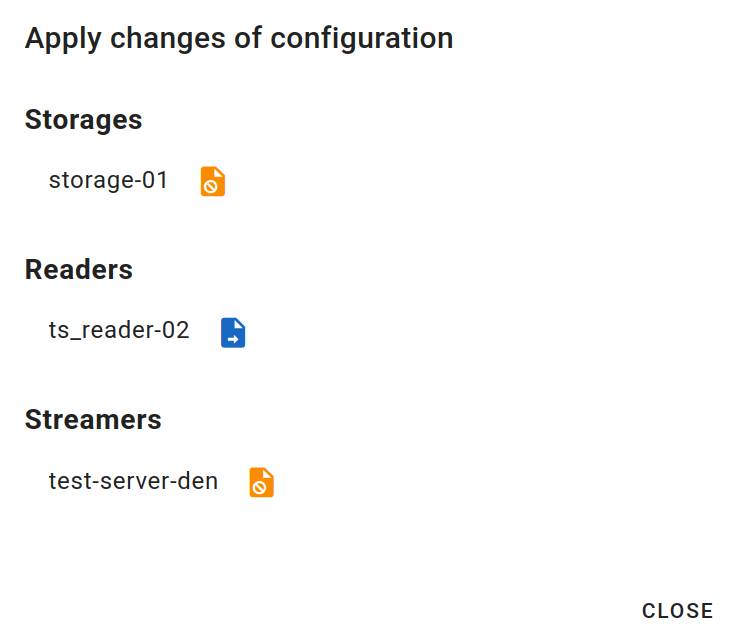
And then click the icons next to Outdated config. Apply the current configuration to device. to apply the configuration.

Adding a channel with transcoding
To add a channel in the web interface, go to the Channels tab, click the plus button on the right side menu.
In the window that appears, enter the channel name and a comment if necessary, then click Save.
In the Sources window that appears, click the plus button to add a stream source.
In this step, specify the stream source provider and set the stream source address.
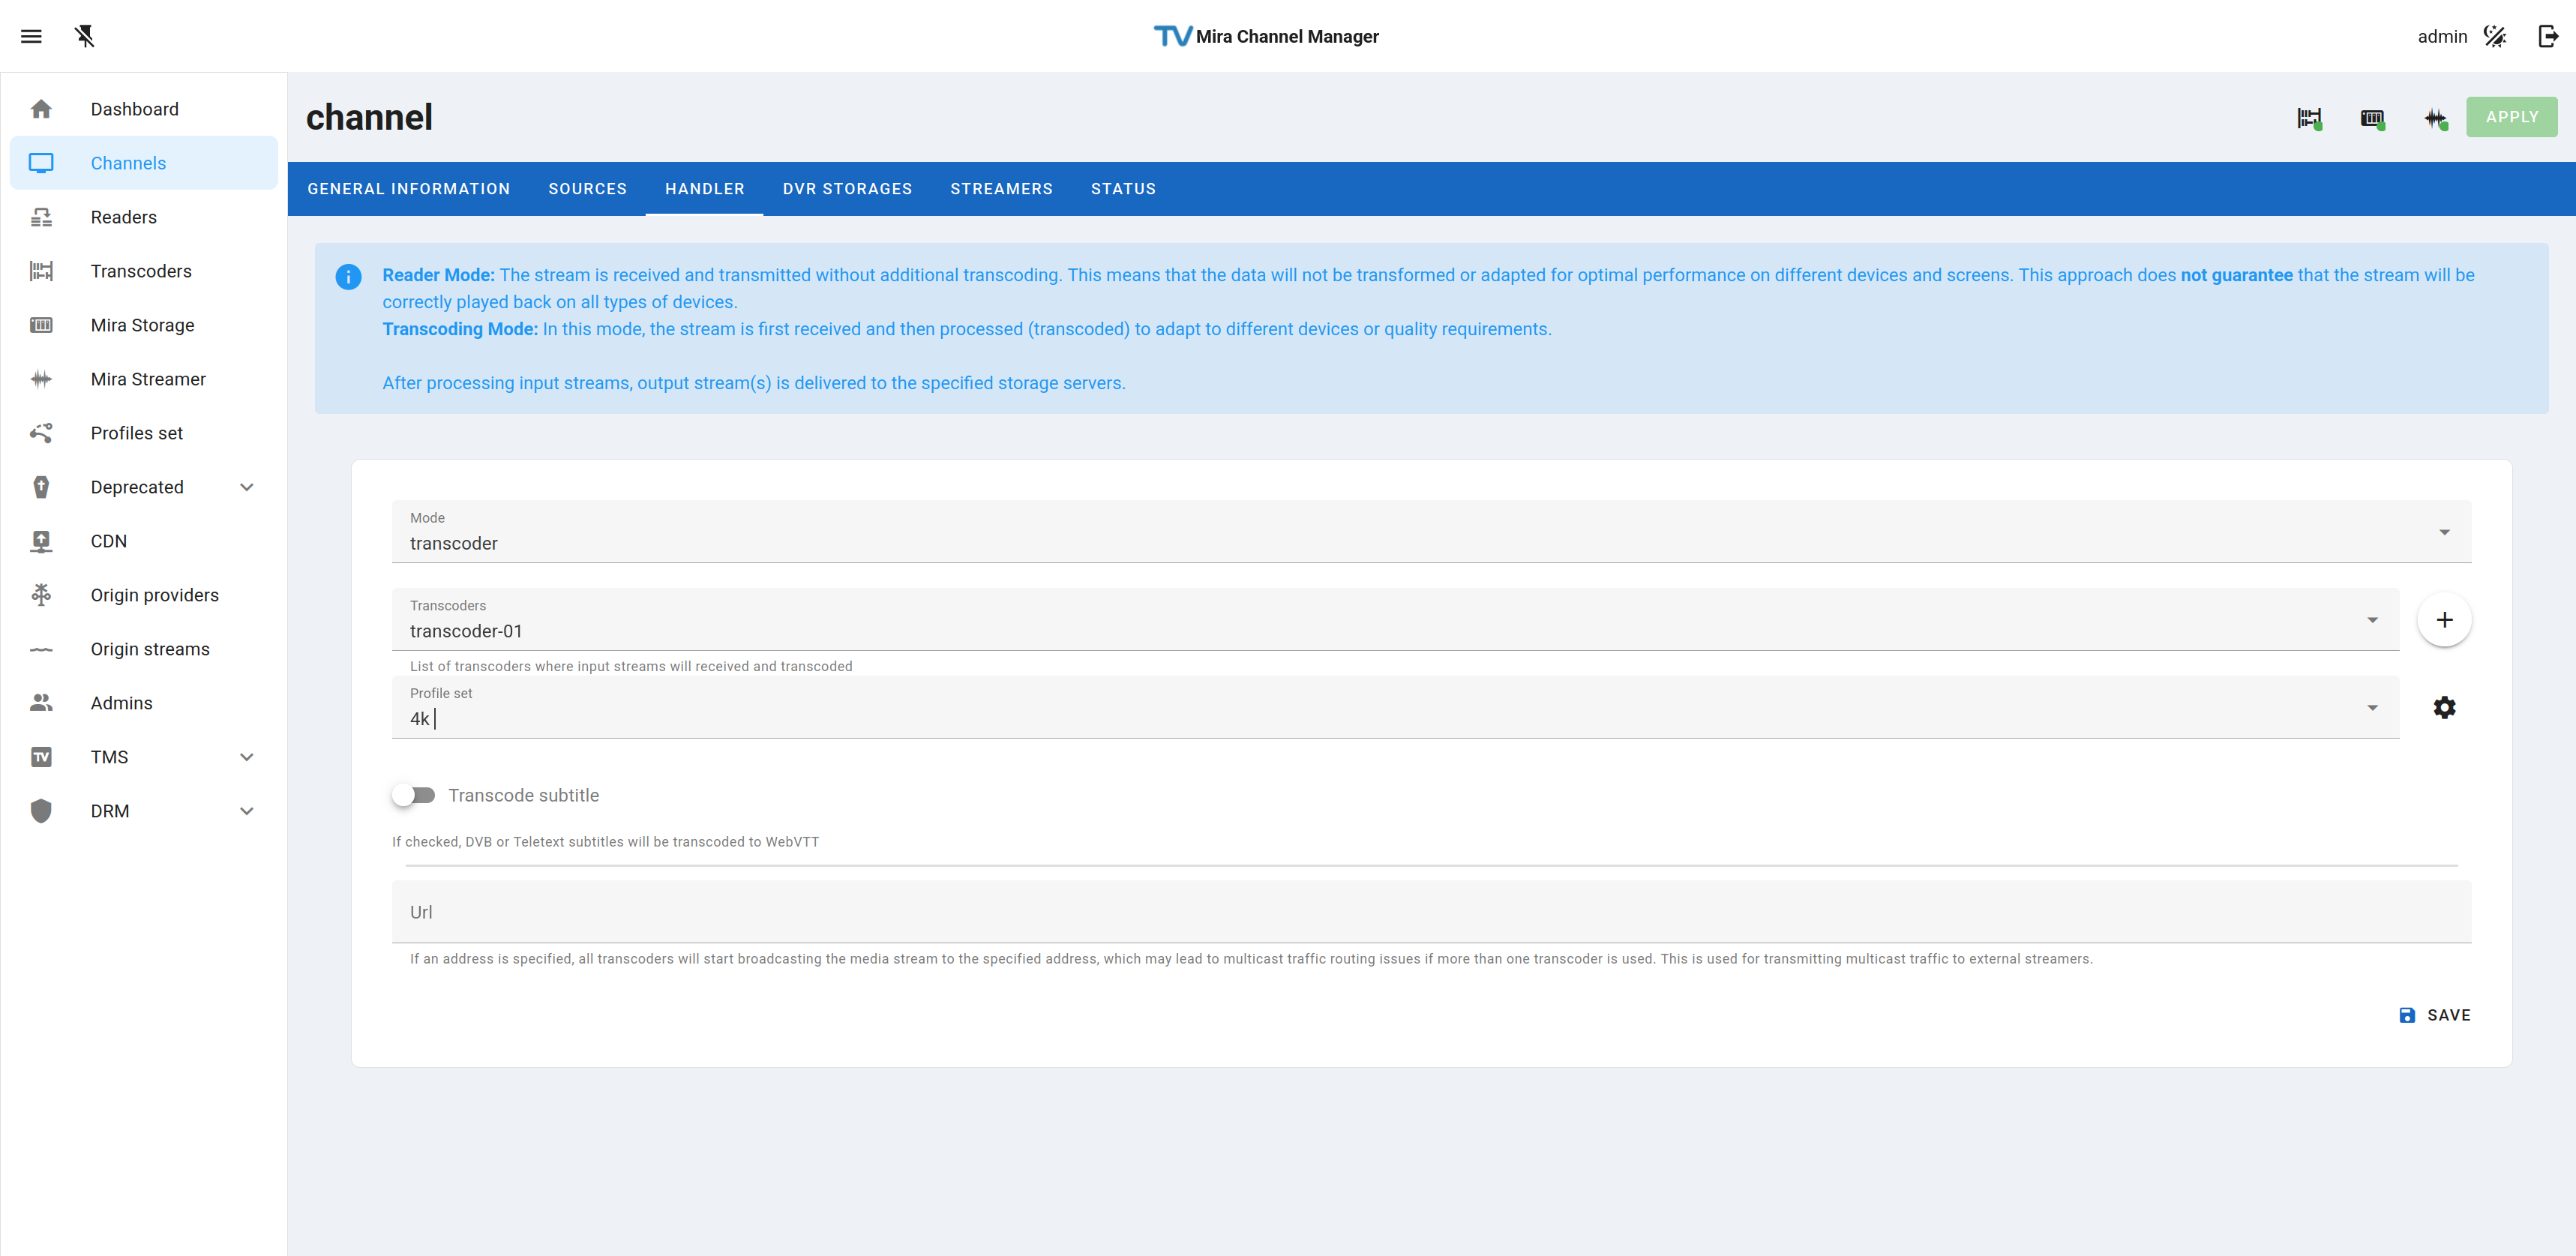
Go to the Handler menu tab and select Mode: Transcoder in the Mode: field and the desired Transcoder in the Transcoder: field, for the Profileset field set the transcoding profile.
Next, go to the DVR STORAGES tab and click on the plus button.
In the window that appears, in the Storage field, select the desired Storage. If you want to broadcast only the broadcast (without archive), select /memory in the Path field. If you want to store the channel archive, select the path and specify the archive depth. The path of recording on the server is configured in the Storage settings in the Mira Storage section. After that press the SAVE button.
Then go to the STREAMERS tab and click on the plus button.
In the window that appears, select the desired Streamer in the Streamer field, and then click the SAVE button.
To apply the settings to the devices, click the APPLY button in the upper right corner.
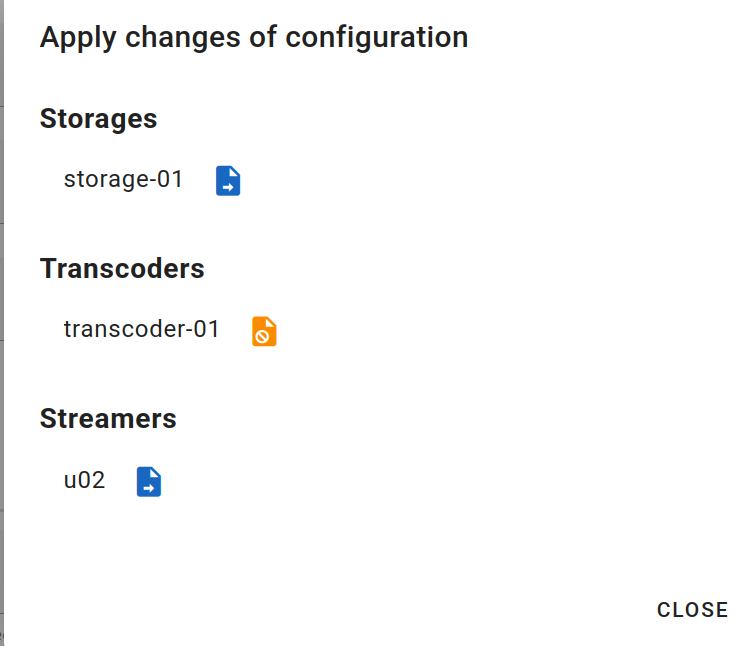
And then click the icons next to Outdated config. Apply the current configuration to device. to apply the configuration.
Optional settings
Transcoding from HLS source
Warning
This functionality is in test mode and its development is still ongoing.
Since version 4.4.13 TVIP MIRA transcoder supports HLS sources. This functionality is still under development and is currently released in test mode.
In the current realization of this functionality audio stream and video stream with the smallest indices are selected for transcoding from the input HLS-source. Therefore it is recommended to use HLS-streams containing one video and audio stream as sources.
To set the HLS source it is necessary to perform the following actions when configuring the channel:
Click the Sources tab of the channel for which you want to configure the source. Click the plus button to the right above the displayed table if you want to add a new source for HLS, or the edit button (with pencil icon) on one of the sources listed in the table if you want to change it.
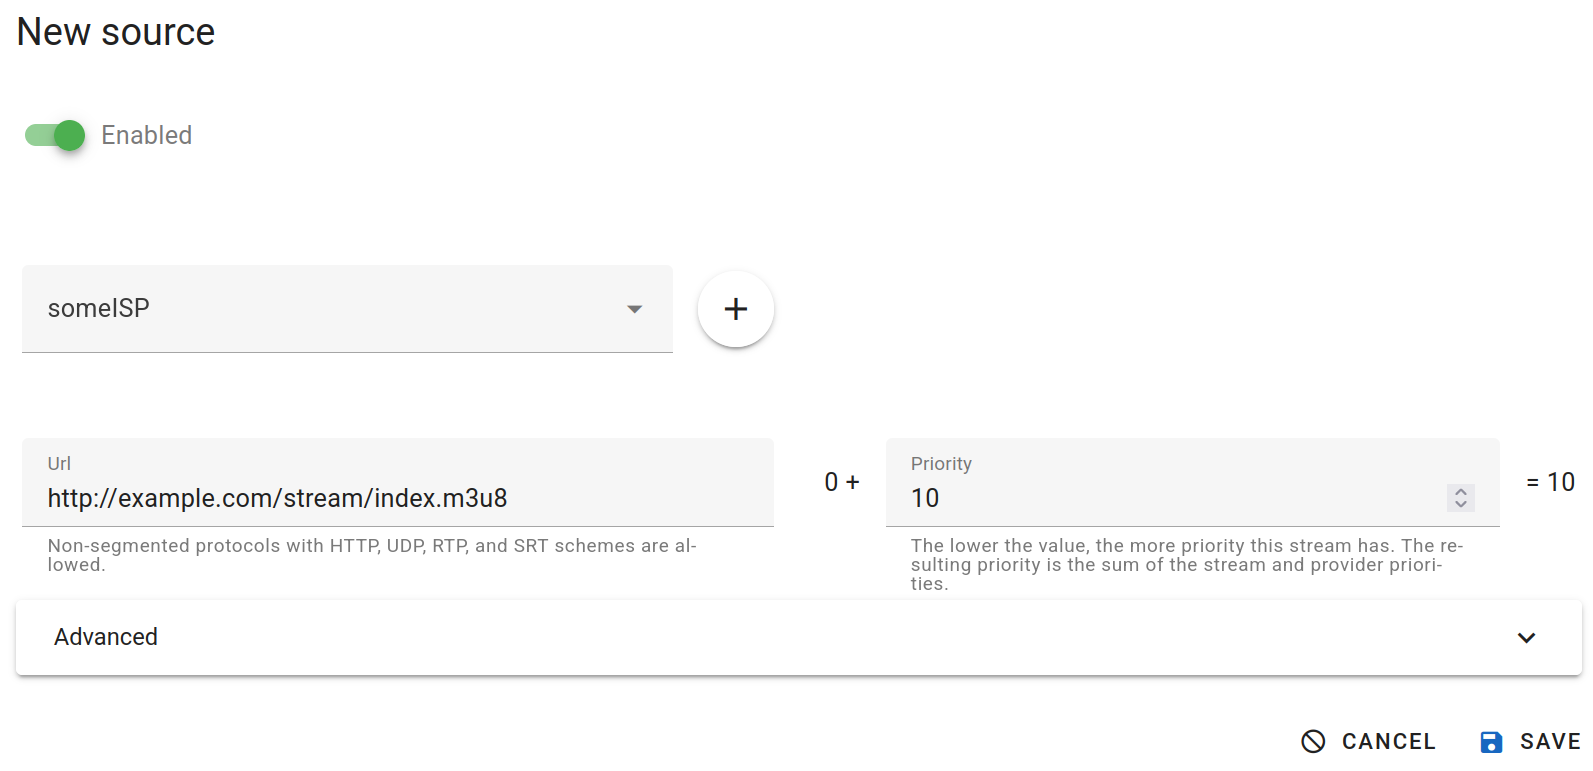
In the Source Settings dialog box that appears, in the URL field, insert a link to the HLS stream to be fed to the transcoder input.
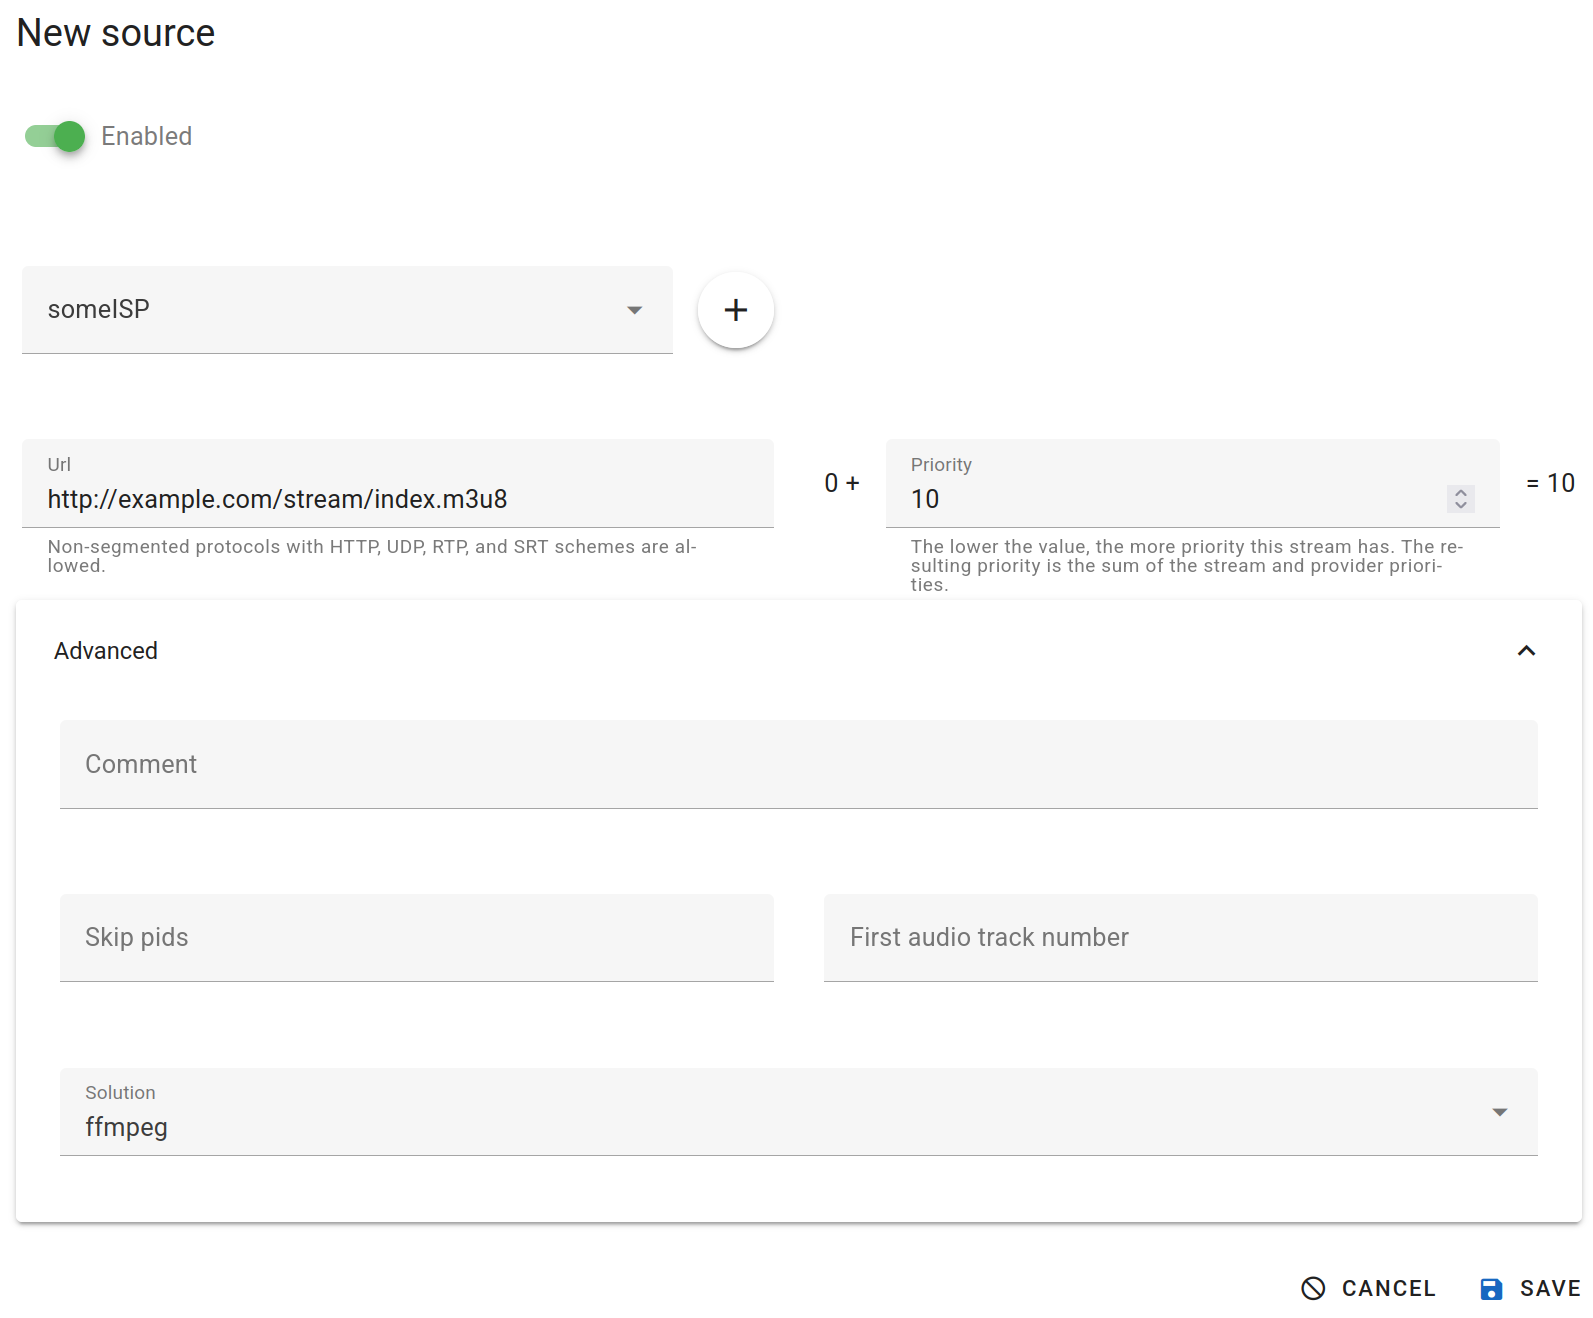
Next, open the Advanced tab and select ffmpeg from the Solution drop-down list.
Note
If a channel has several sources, it is recommended to make the Solution value of the sources the same for the correct operation of switching between them.
Press the SAVE button to save the source settings.
After that, if the source was configured for a new channel, you can continue creating it according to the above instructions by clicking on the Handler tab.
In case a new source is edited or added for a previously created channel, first press the APPLY button in the upper right corner to apply the settings on the transcoder,
and then click on the transcoder icon next to Outdated config. Apply the current configuration to device. to apply the changes to its configuration.
Warning
Currently, when working with an HLS source, the input source bitrate graph in the Status tab of the channel settings may not be displayed correctly.